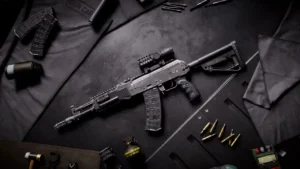
BF6 RPKM Best Loadout Guide (Attachments + Tested Setup)
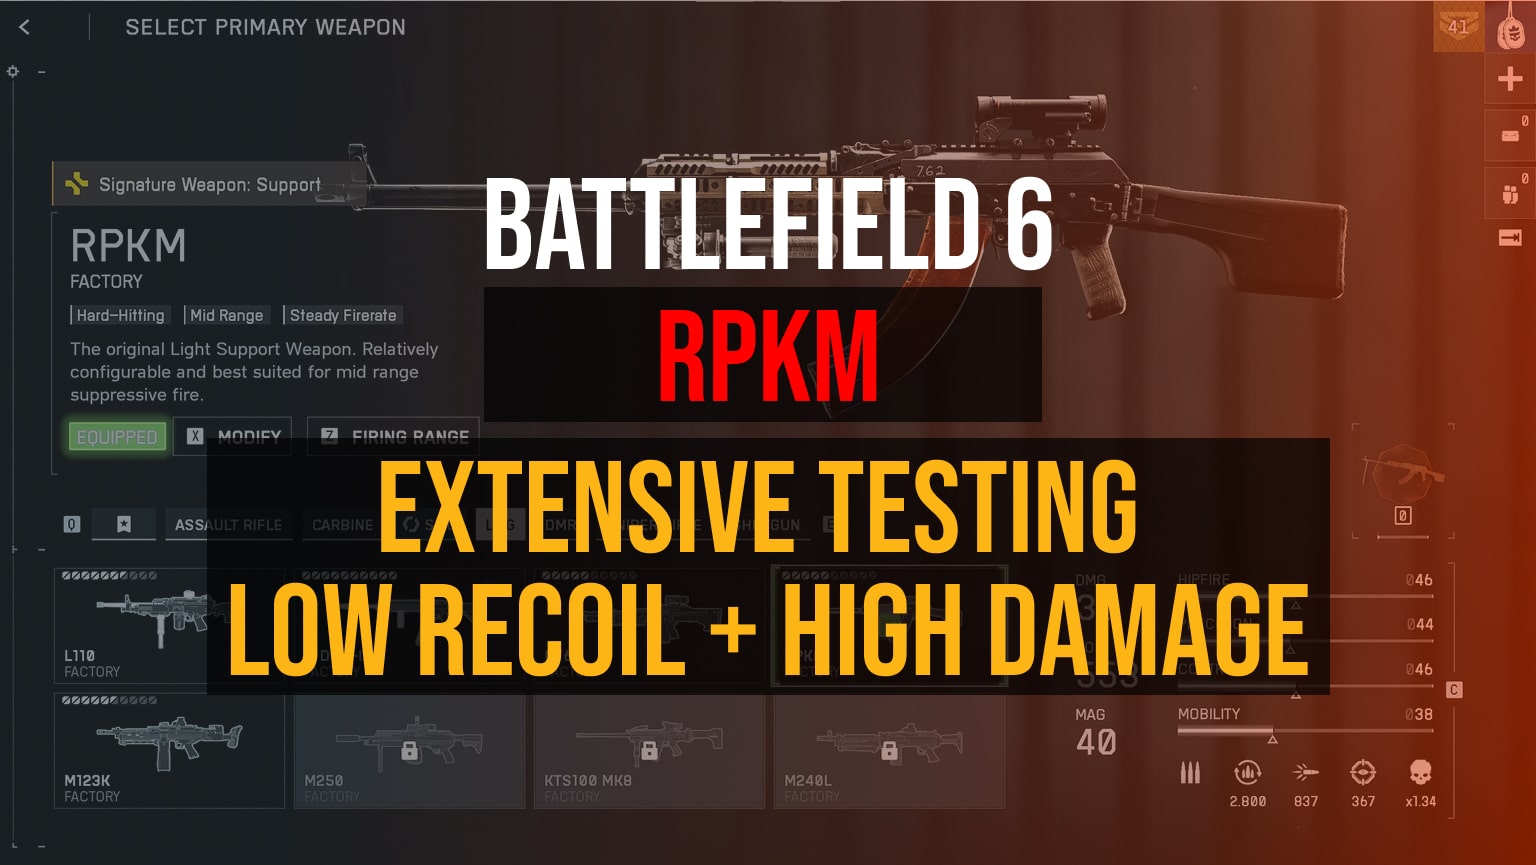
The RPKM is the perfect blend of power and control — an LMG that can melt enemies at range while staying steady under sustained fire. Built right, it rivals the DRS-IAR but offers more mobility and suppression potential, making it a top pick for objective players and conquest grinders alike.
Why the RPKM Is Shredding the Current Meta
If you’ve spent time grinding the latest patch, you’ve probably noticed how LMGs have completely taken over mid-range engagements. The RPKM sits comfortably at the top thanks to its predictable vertical recoil, impressive damage consistency, and easy-to-control spread even during long bursts.
Here’s what makes it lethal:
- Predictable vertical recoil — easy to counter with light downward control
- High suppression output — great for completing LMG challenge ribbons
- Surprisingly mobile — faster ADS and movement speed compared to heavier LMGs
- Balanced range and hipfire — viable whether you’re locking down lanes or rushing objectives
If you’re comparing loadouts across the meta, check out our full data-driven list here:
BF6 Best Weapons Tier List (Week 2 Meta Shift + Full Spreadsheet)
Best Attachments for the RPKM
These attachments maximize range, stability, and bullet performance — turning the RPKM into a long-range suppressive powerhouse.
Optic — A-P2 1.75×
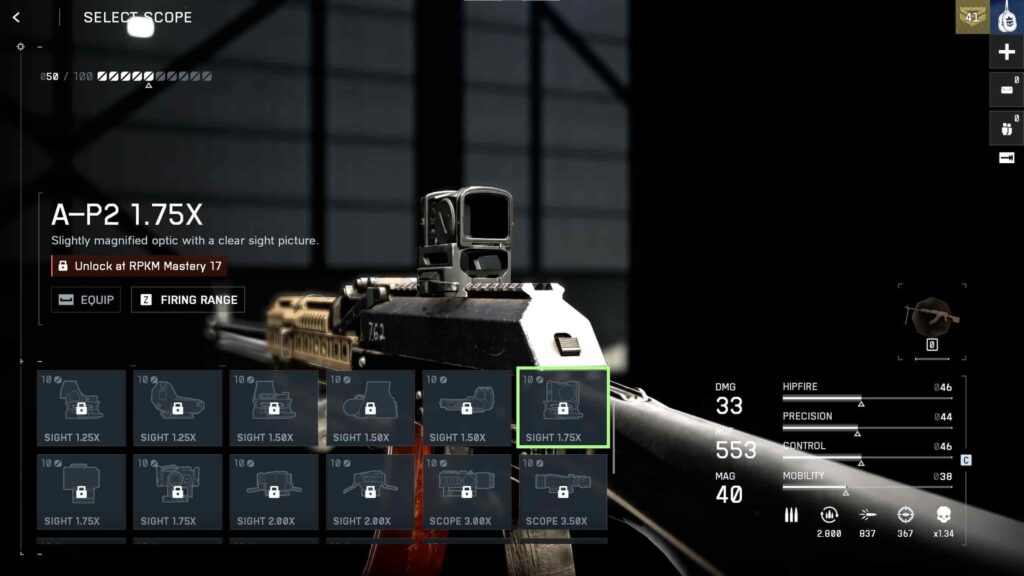
The A-P2 1.75× optic gives a clear, mid-zoom sight picture without excessive magnification. It’s perfect for tracking enemies on open-field maps while keeping situational awareness during close-range pushes.
Muzzle — Long Suppressor
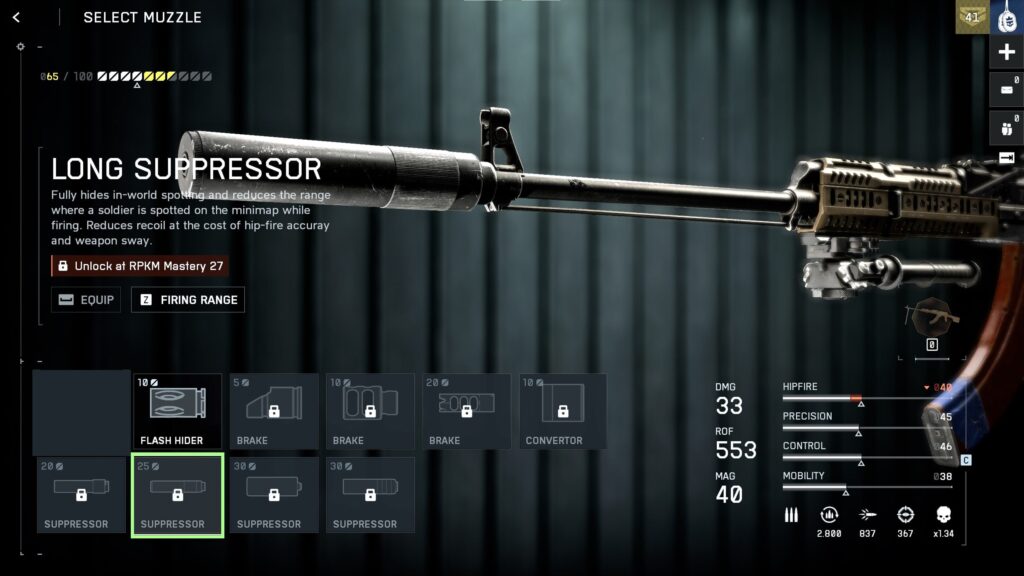
The Long Suppressor pairs well with the RPKM’s natural control. You stay off radar while maintaining high bullet velocity, ideal for anchoring points or flanking without drawing attention. It slightly reduces ADS speed, but the trade-off is worth the stealth advantage.
Barrel — 590 mm Factory
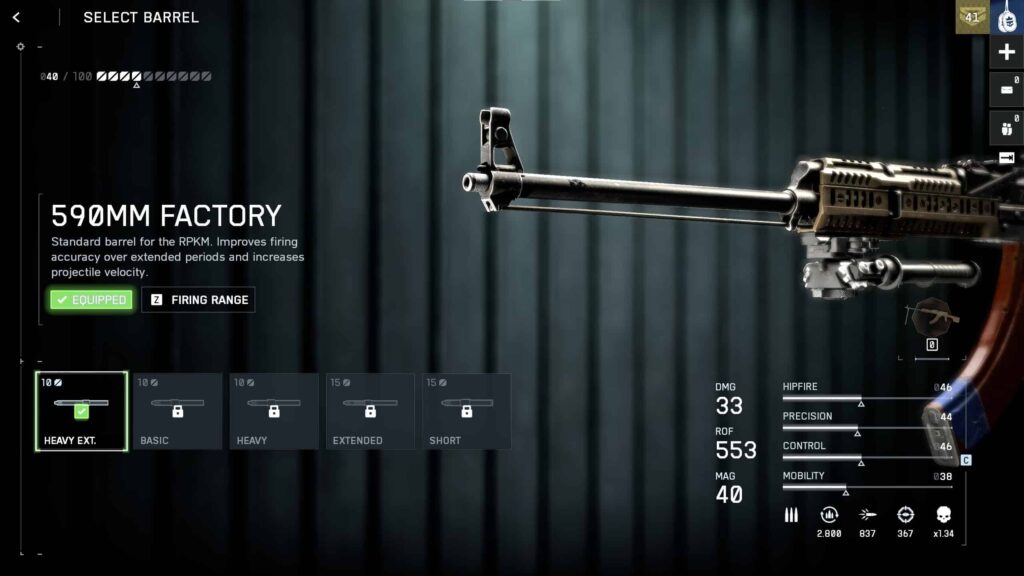
This barrel increases stability and range while keeping recoil smooth and predictable. Expect tighter groupings when firing in controlled bursts — perfect for mowing down targets behind cover or across objectives.
Underbarrel — Folding Stubby
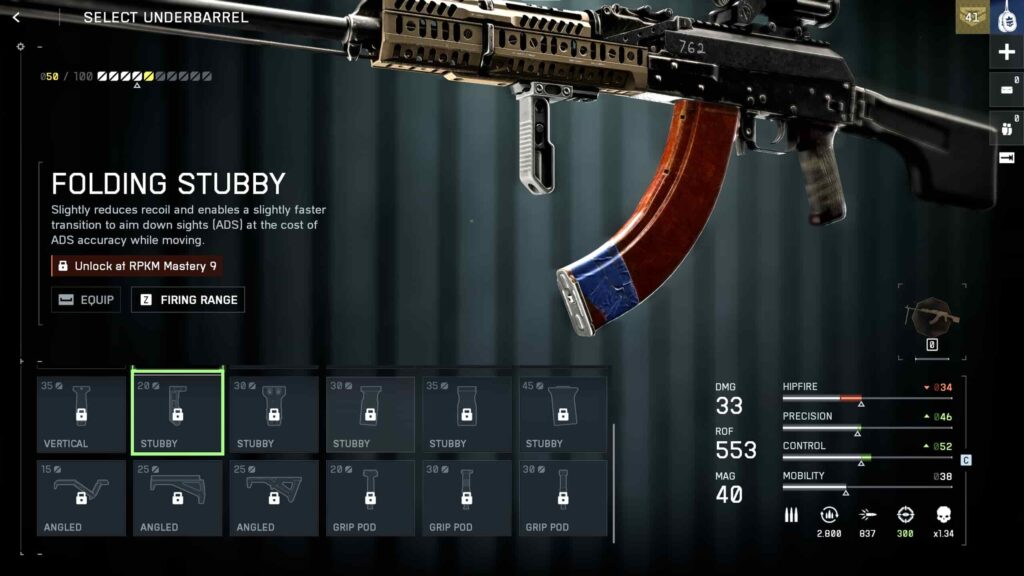
The Folding Stubby offers the best balance between control and speed. It noticeably improves recoil recovery between bursts, letting you reset faster for accurate follow-ups — especially when crouched or using cover.
Magazine — 40 Rnd Magazine
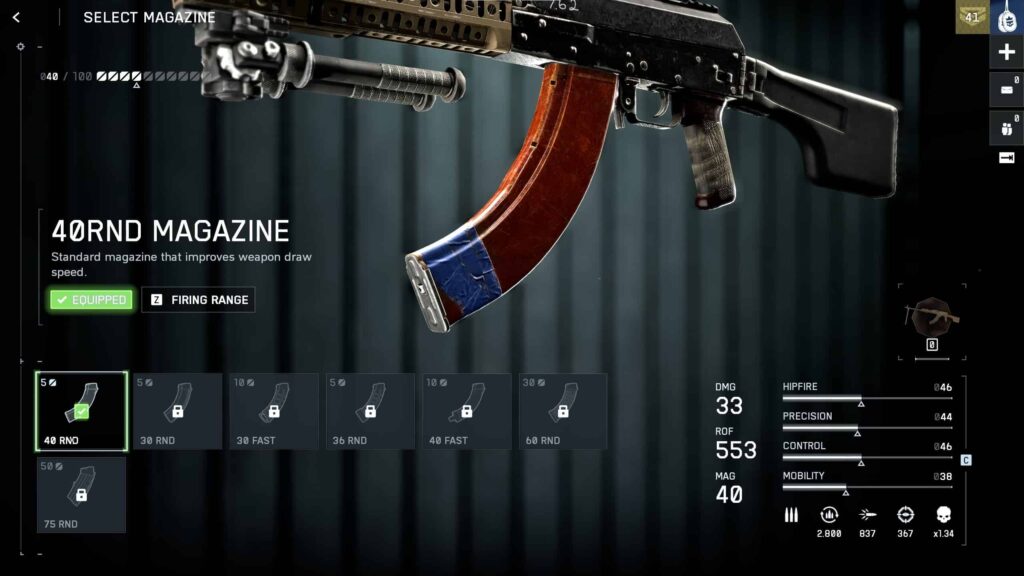
Enough rounds to handle multiple enemies without over-penalizing reload time. It keeps the weapon agile while maintaining sustained fire potential — essential for both suppression ribbons and squad-defense gameplay.
Ammunition — Synthetic Tip
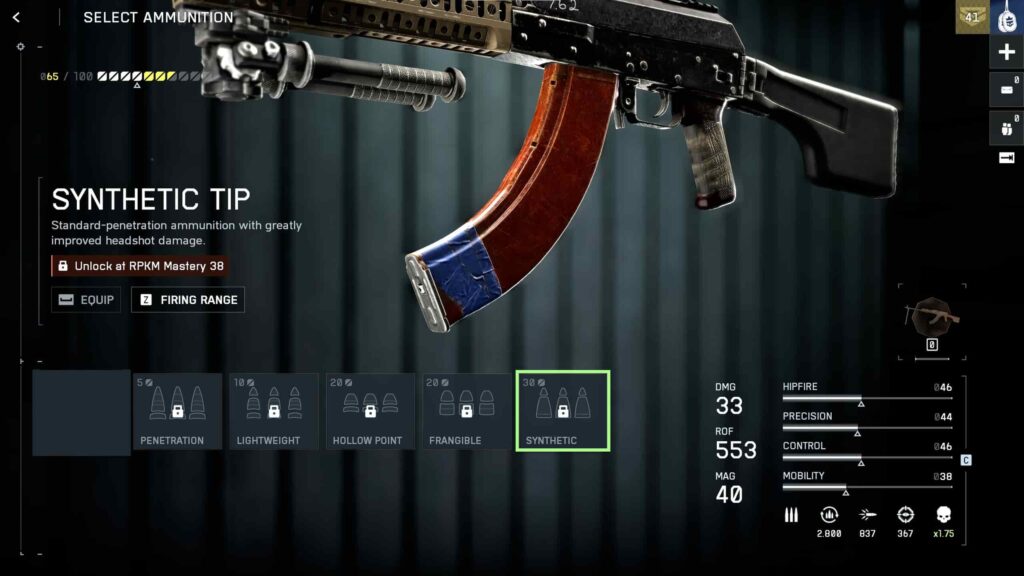
Synthetic Tip rounds boost penetration and maintain damage consistency through light cover. They also extend lethal range slightly, giving you a noticeable edge in medium-to-long engagements.
How It Performs In-Game
Once equipped, the RPKM feels like a heavier-hitting assault rifle rather than a sluggish LMG. Recoil climbs straight up and resets quickly, making it easy to stay on target with light downward mouse control.
Gameplay takeaways:
- At close range, hipfire is serviceable — especially with laser or flashlight accessories if you choose to add them.
- Mid-range duels are where the RPKM shines: fast follow-ups, high chest damage, and reliable headshots.
- At long range, short bursts guarantee near-pinpoint precision with minimal spread.
Pro tip: play from cover or elevation whenever possible. The suppressor keeps you hidden long enough to reposition and keep pressure on enemies without giving away your flank.
Stat Highlights (Testing Data)
| Metric | Result |
|---|---|
| Vertical Recoil Reduction | -24% vs. base build |
| Bullet Velocity Increase | +15% from barrel and ammo combo |
| ADS Speed | -8% (slight trade-off for control) |
| Effective Range | Up to 45 m consistent 3-shot kills |
Across multiple test runs, this build consistently performed in the top 5% of LMG accuracy scores in our spreadsheet.
Recommended Loadout Pairings
- Secondary: Compact pistol (MP443 or G57) for quick close-range finishes
- Gadget: Ammo Crate or Med Pen for extended sustain
- Specialist Pairings: Support or Engineer roles benefit most from this build’s suppression potential
Final Thoughts
The RPKM is one of those rare weapons that feels better the longer you use it. Once you settle into its rhythm, the gun starts to reveal what makes it such a dominant pick in the current Battlefield 6 meta. It delivers the raw stopping power you expect from an LMG, but without the heavy, sluggish penalties that normally hold these guns back. Instead, you get a weapon that anchors lanes, applies relentless pressure, and still moves quickly enough to keep up with objective pushes and squad rotations.
What makes the RPKM so impressive is not only its raw stats, but the way it adapts to different playstyles. If you prefer locking down sightlines and shutting down enemy pushes, the RPKM rewards you with some of the best sustained-fire accuracy you will find at this tier. If your playstyle leans more aggressive, the improved ADS speed and mobility let you challenge mid-range targets with confidence while still maintaining the suppressive presence expected from a Support or Engineer role.
In prolonged firefights, the RPKM steadily wears down enemy squads. Its predictable vertical recoil, high suppression output, and impressive damage retention allow you to stay engaged in fights far longer than most assault rifles or SMGs would ever permit. Even at extended ranges, short controlled bursts feel laser sharp, and the Synthetic Tip ammo keeps your lethality consistent through light cover. For players grinding mastery challenges, ribbons, or extended Conquest sessions, this reliability translates directly into higher kill counts, more objective control, and fewer wasted engagements.
Another underrated benefit is how comfortably the RPKM fits into Battlefield 6’s movement-heavy meta. While many LMGs force you to slow down or play static positions, this build strikes a balance that keeps you active. You can reposition quickly, maintain strong map presence, and still deliver the type of suppressive fire that locks down entire objectives. For squad play, this consistency makes you a backbone of team pushes, letting you break enemy lines or anchor defenses depending on the match flow.
If your goal is to climb leaderboards, secure weapon mastery, or simply run a dependable mid-range powerhouse, the RPKM build above will give you everything you need. It is one of the few LMGs that feels rewarding for both new players and experienced grinders because it cuts out the typical penalties while amplifying the parts of LMG gameplay that matter most.
For players comparing both top LMGs, you can’t go wrong pairing this with our DRS guide:
Best DRS-IAR LMG Build (Based on Extensive Testing + Spreadsheet)
Related Posts
A Guide to the Best Battlefield 6 Weapons & Loadouts
Battlefield 6 Top 5 Best Guns for Maximum Kills